The Critical Role of Crack Repair
(503) 914-9837
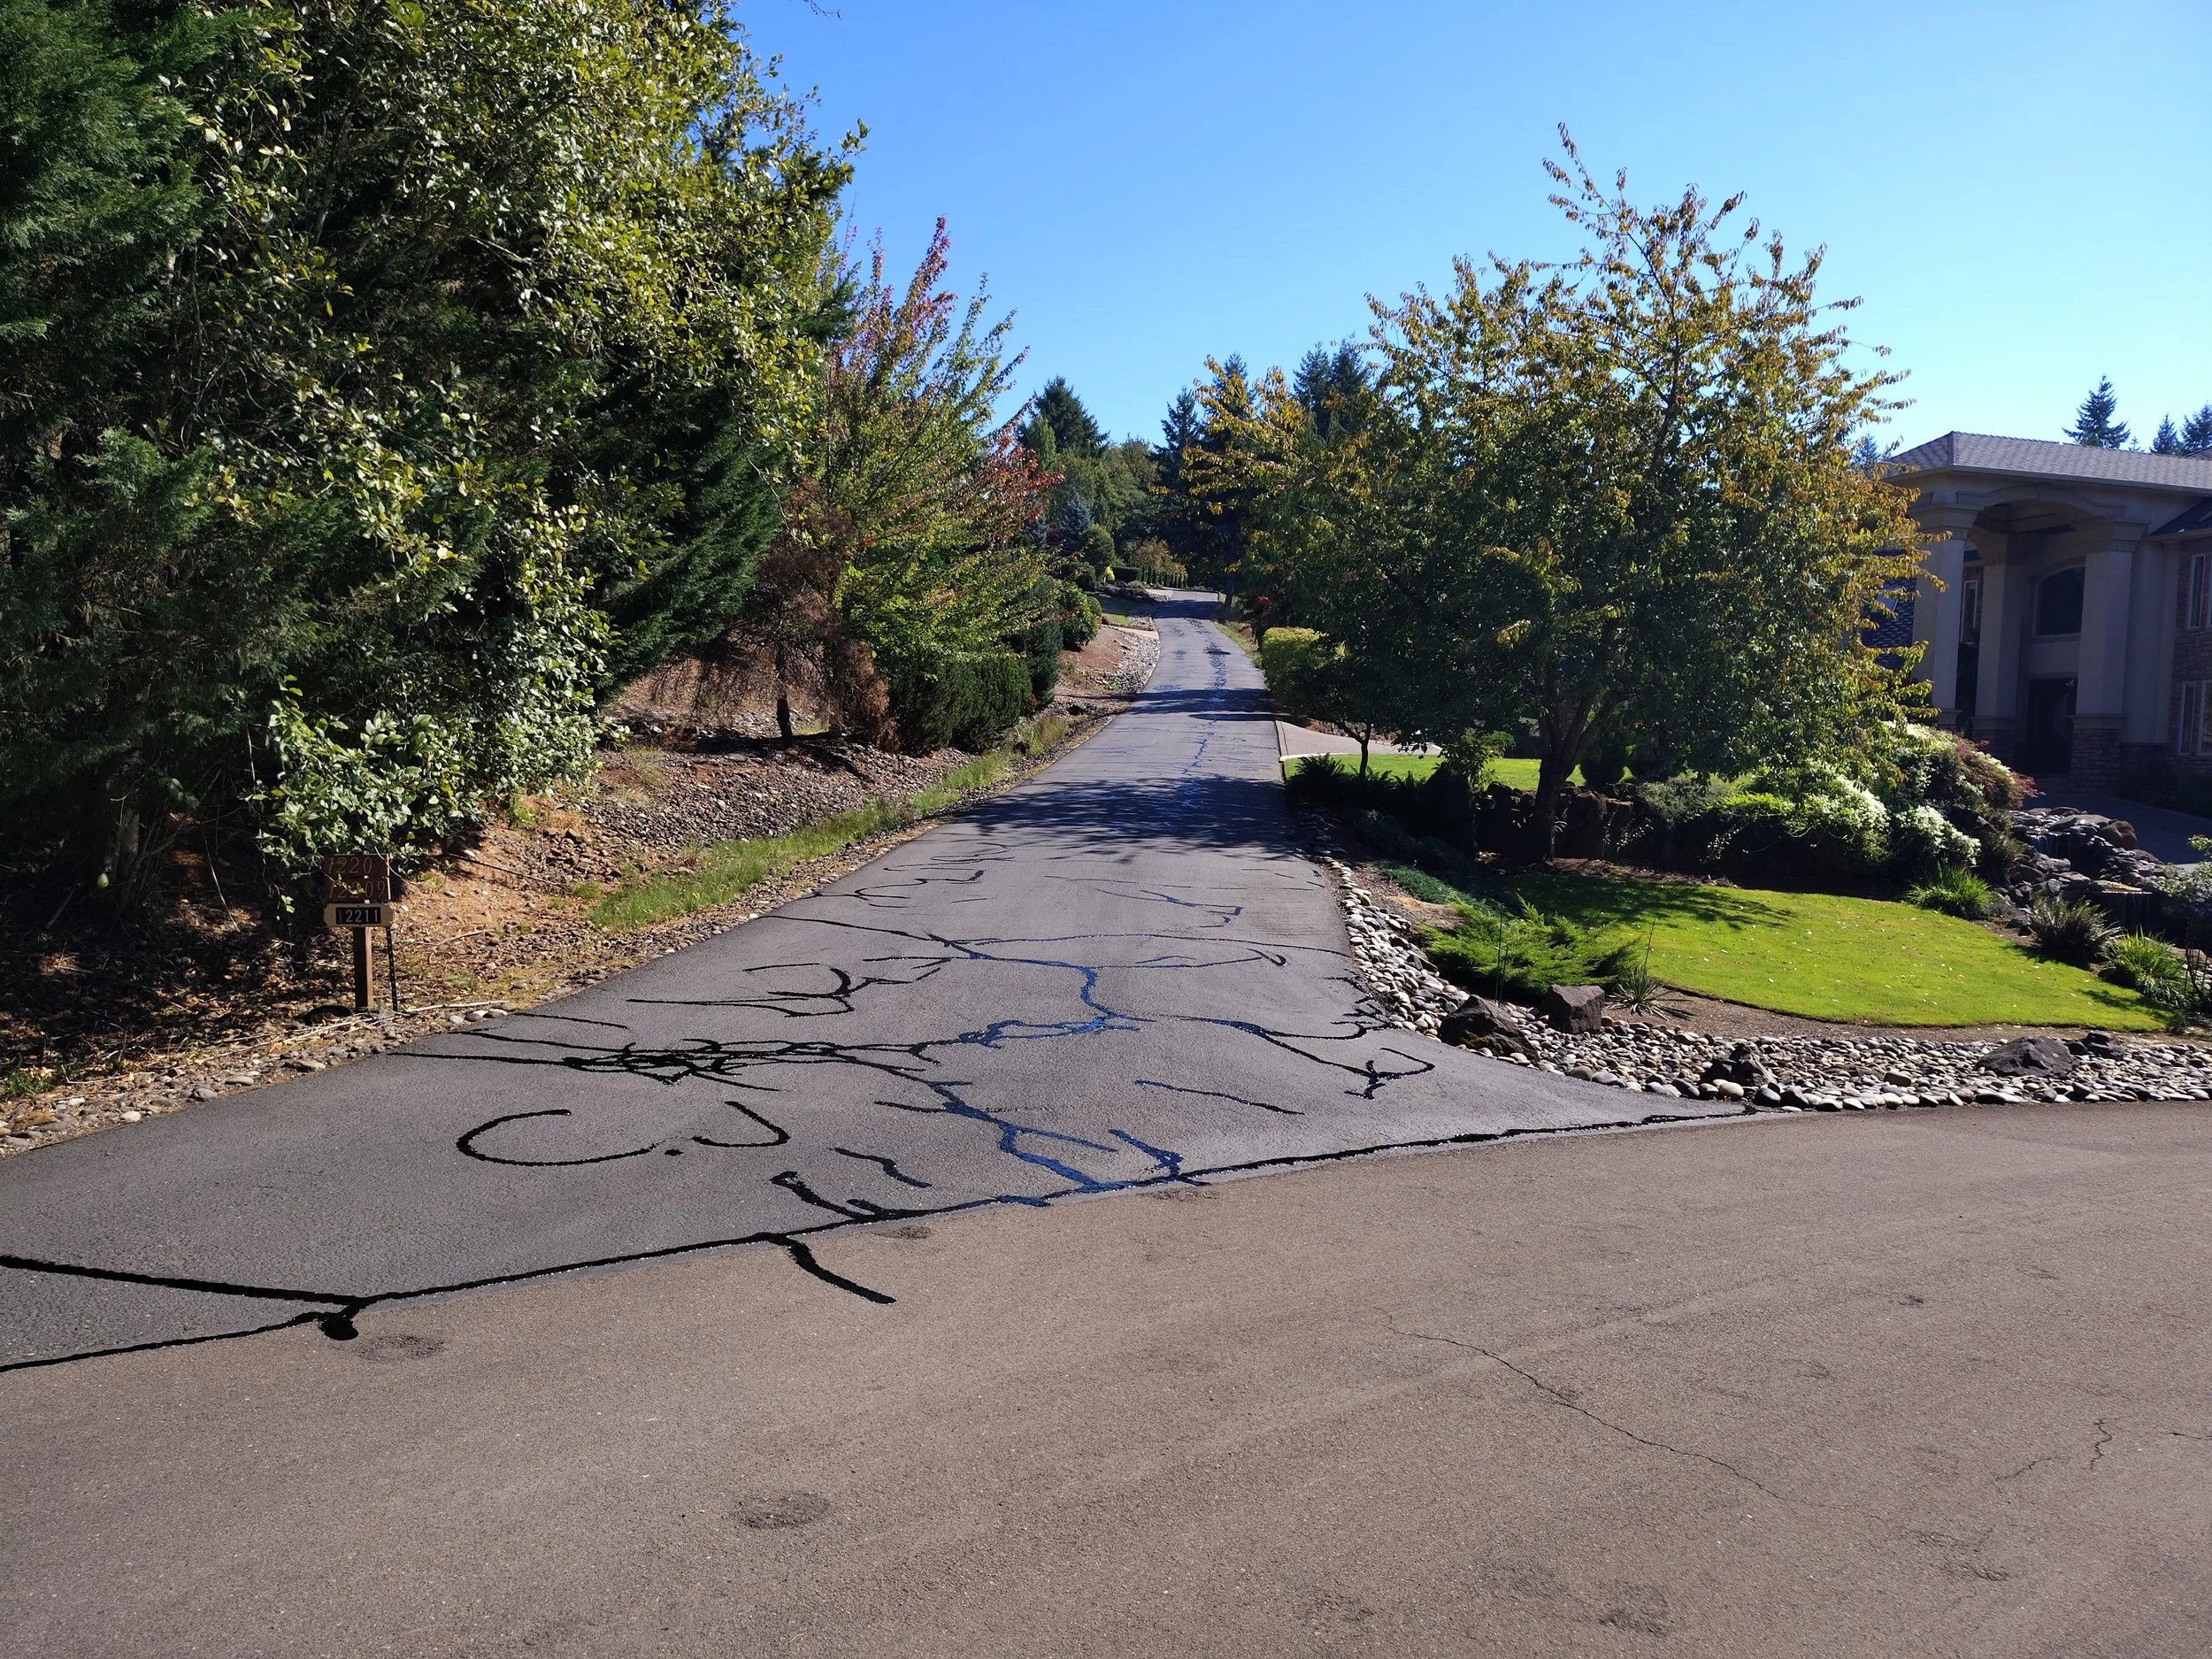
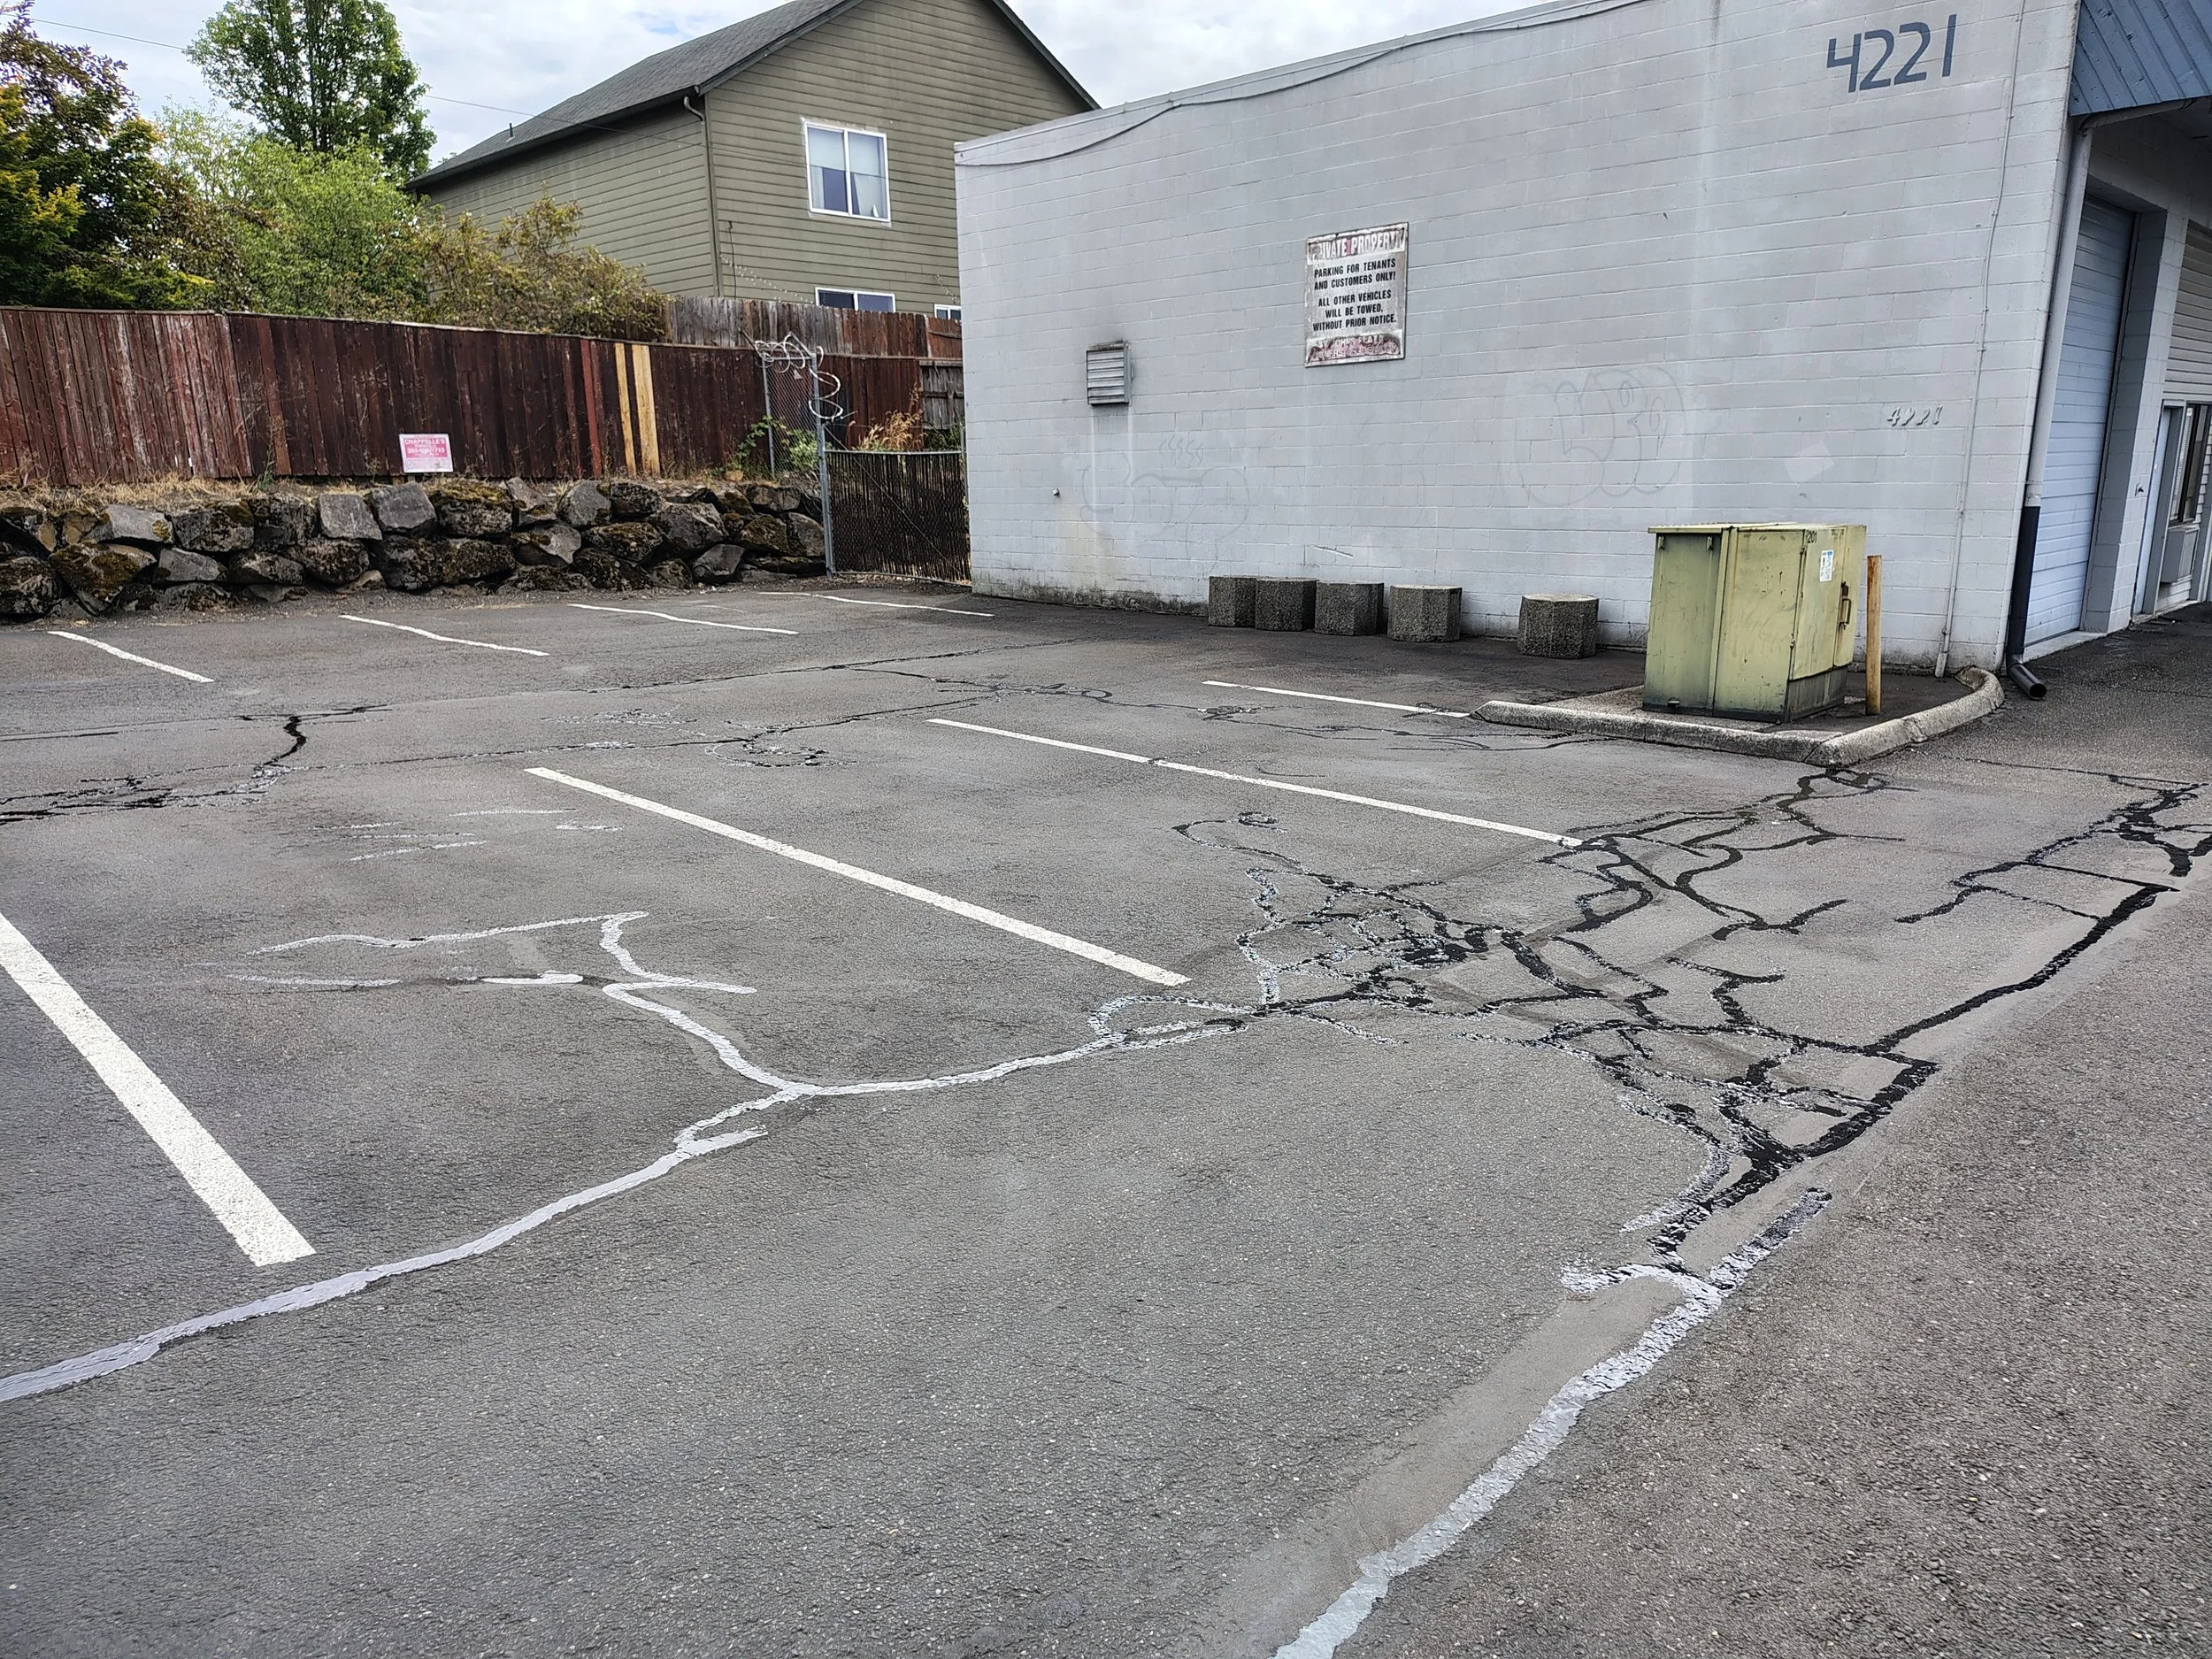
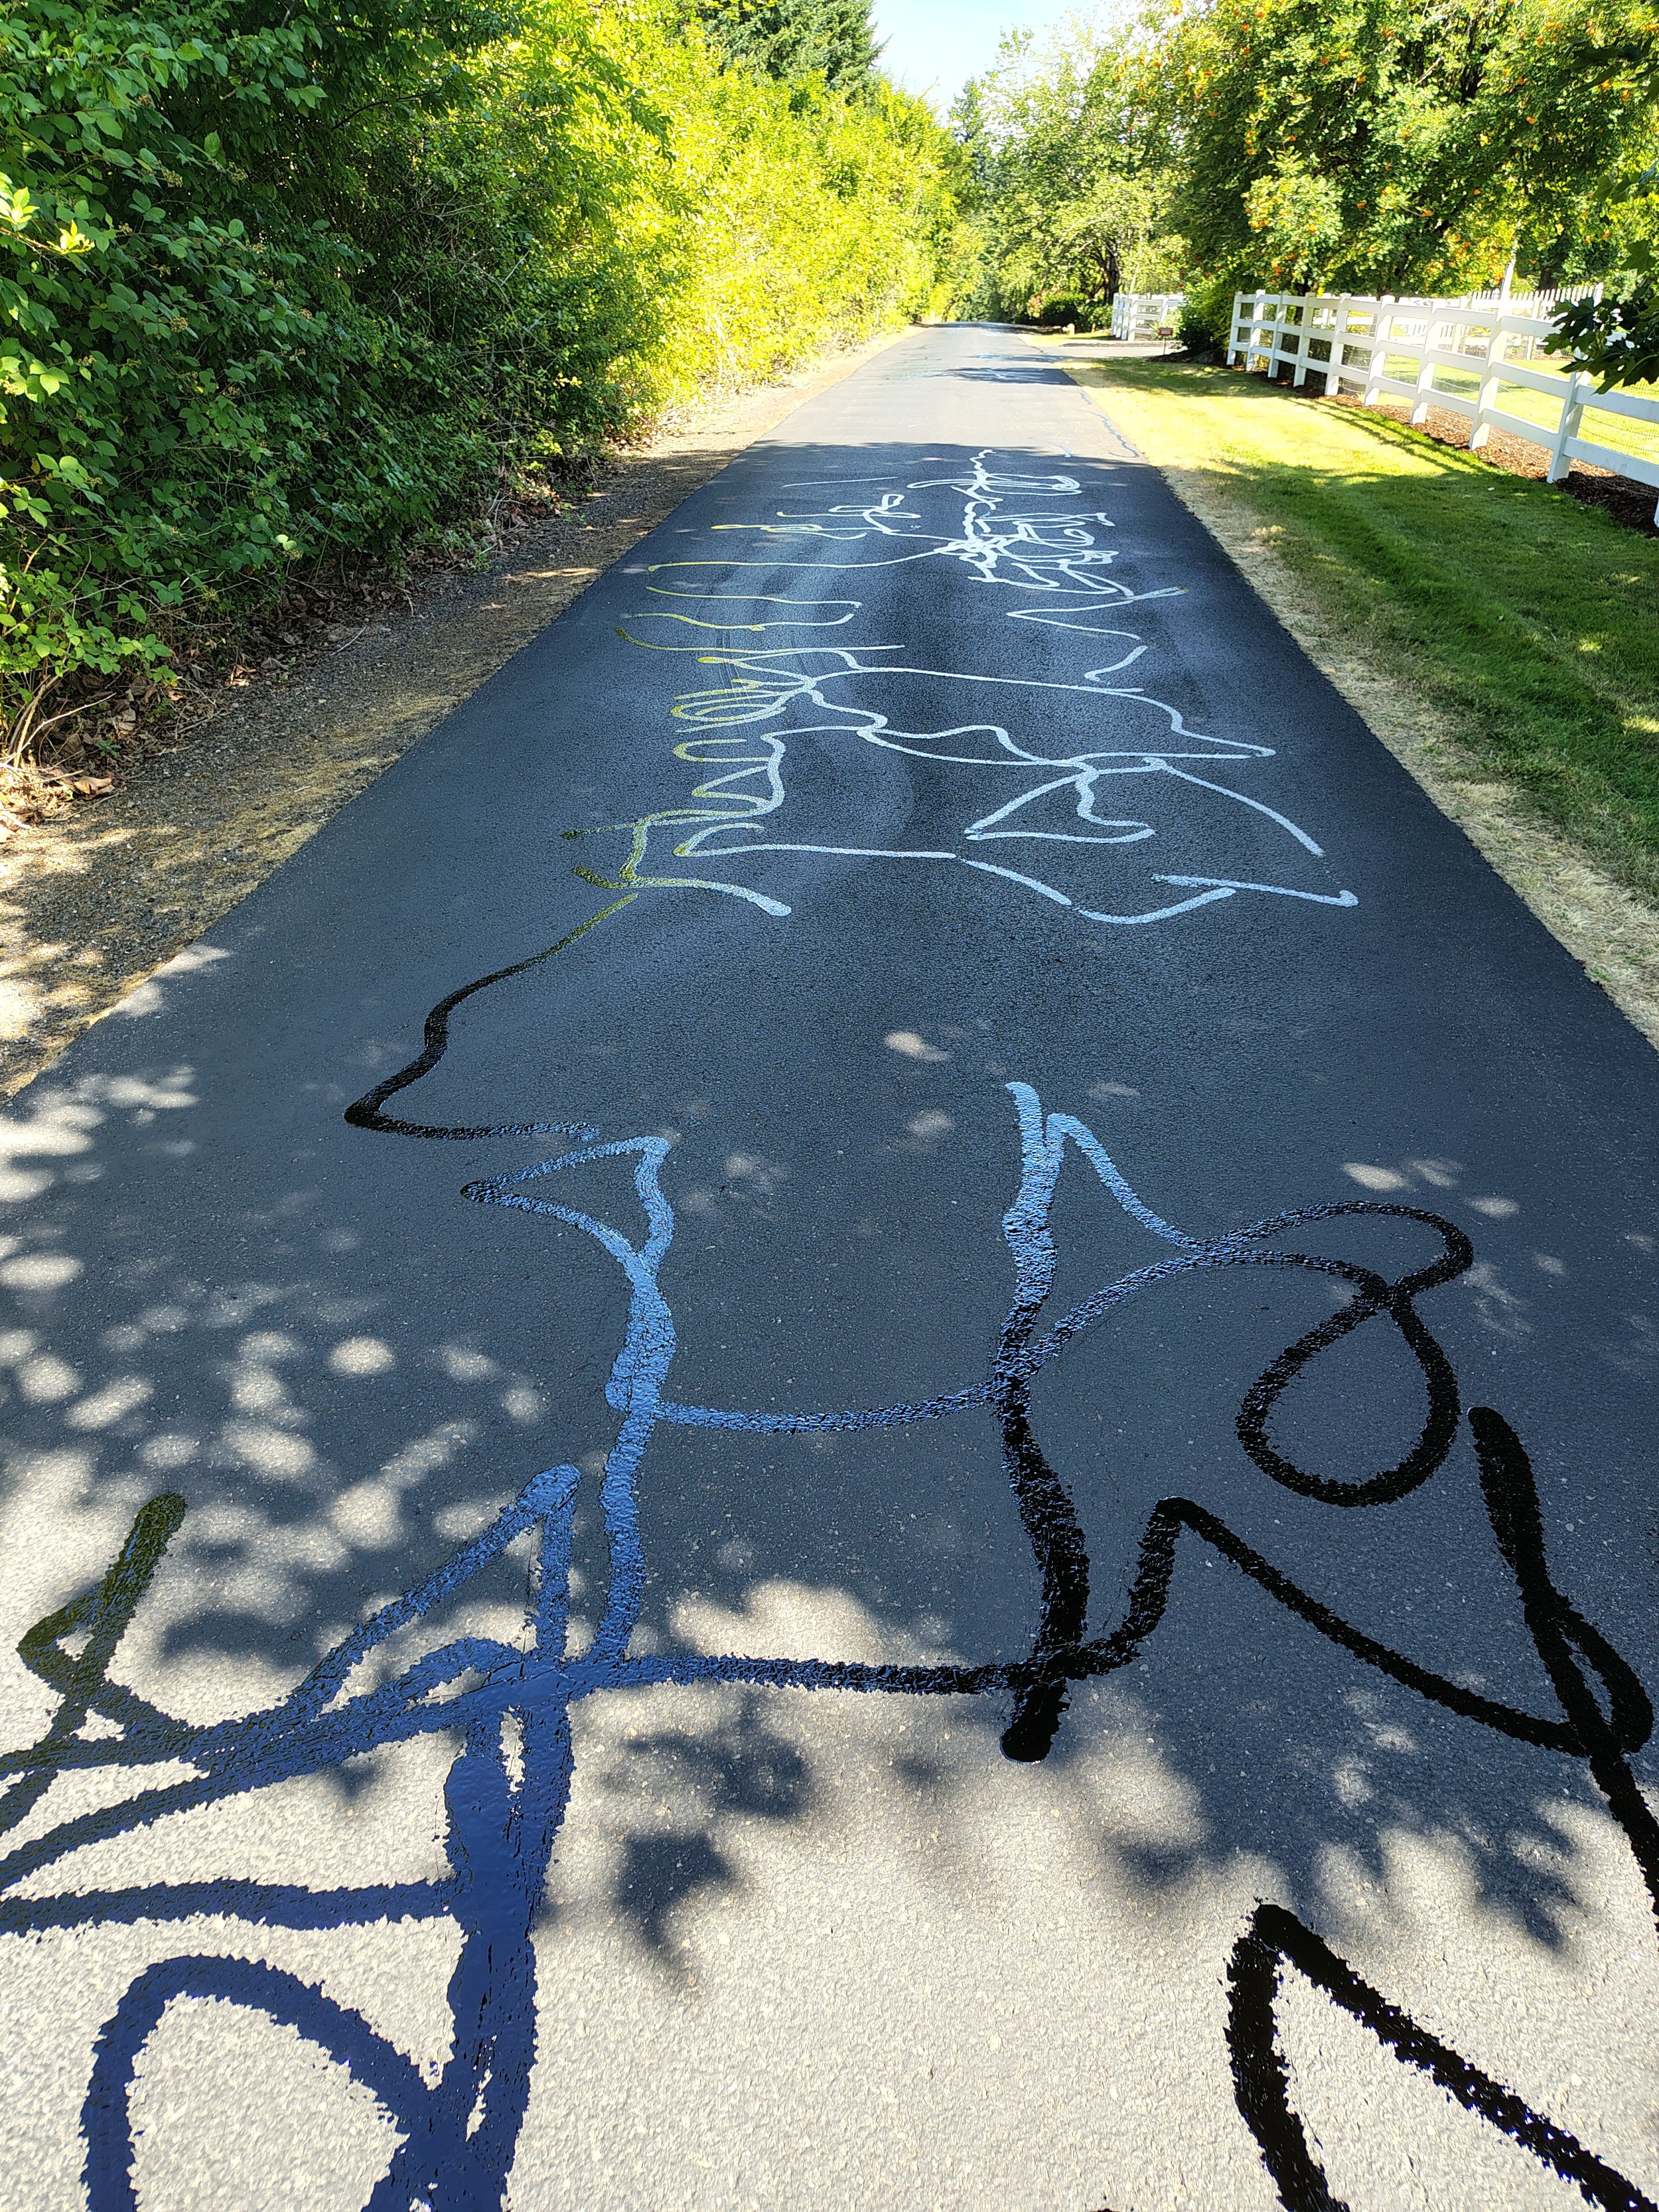
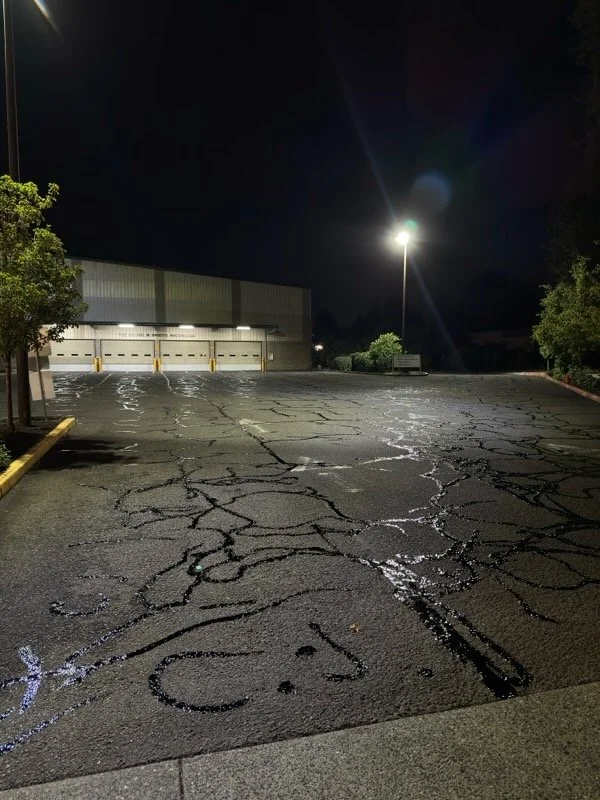
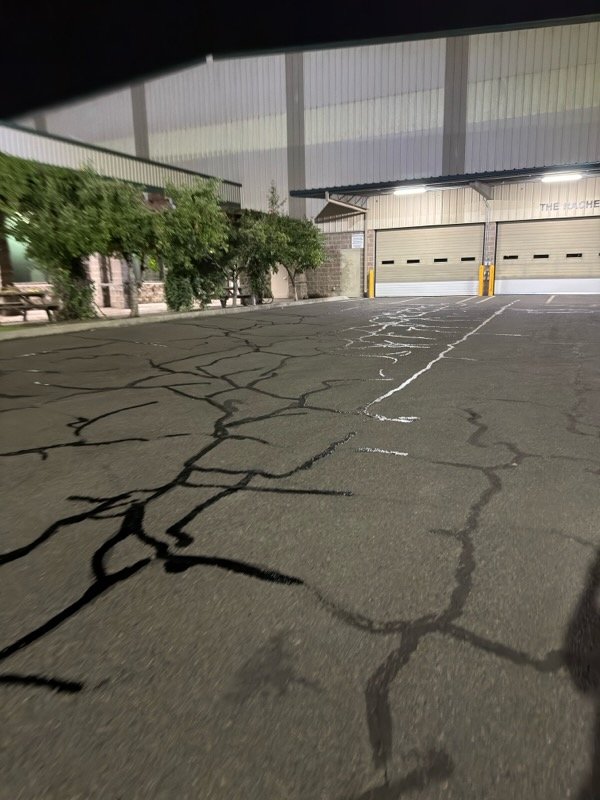
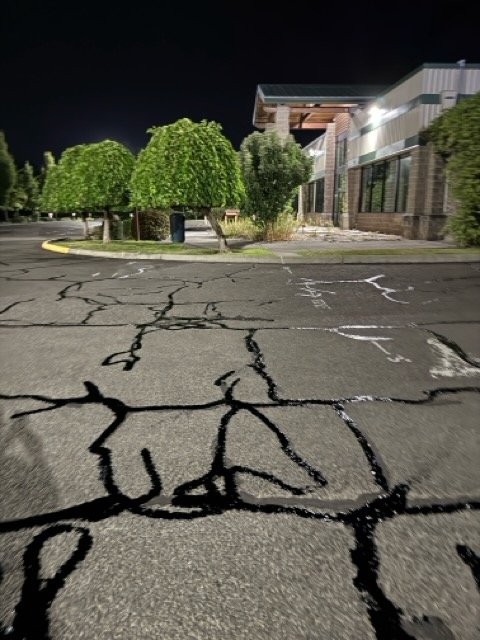
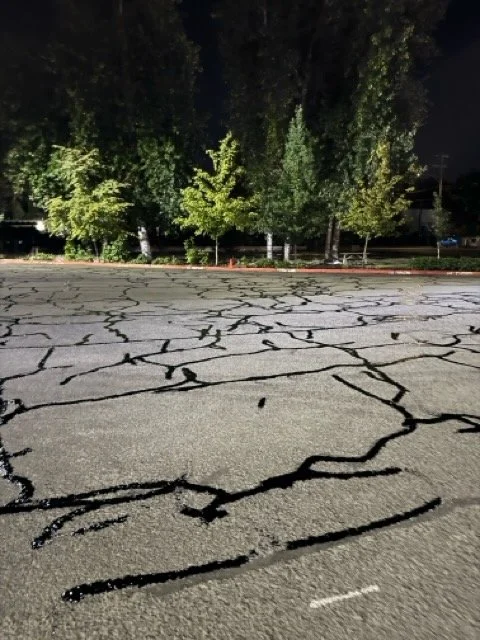
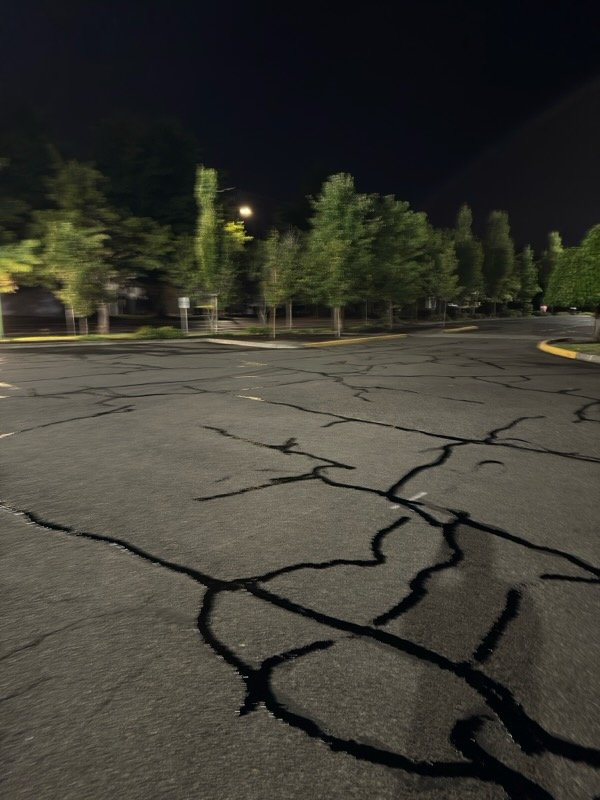
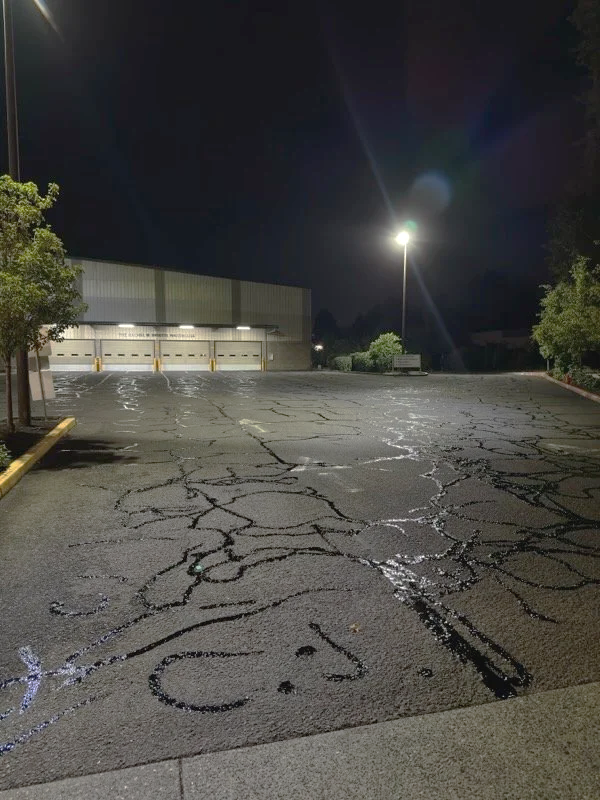
In the lifecycle of asphalt pavement, cracks are the first visible symptoms of structural fatigue. While they may appear as minor cosmetic blemishes, they are, in reality, the primary entry points for the forces that destroy roads and driveways. Crack repair—the process of cleaning and filling these voids with specialized materials—is the most essential maintenance task for preventing total pavement failure.
The Anatomy of Failure: Why Cracks Occur
Asphalt is a flexible surface designed to expand and contract with temperature changes. Over time, however, the asphalt binder oxidizes and loses its elasticity, becoming brittle. When heavy vehicle loads or thermal stresses are applied to this brittle surface, it cracks. These openings expose the sub-base, the underlying layer of compacted stone and soil that provides the pavement’s structural strength.
Water: The Universal Solvent
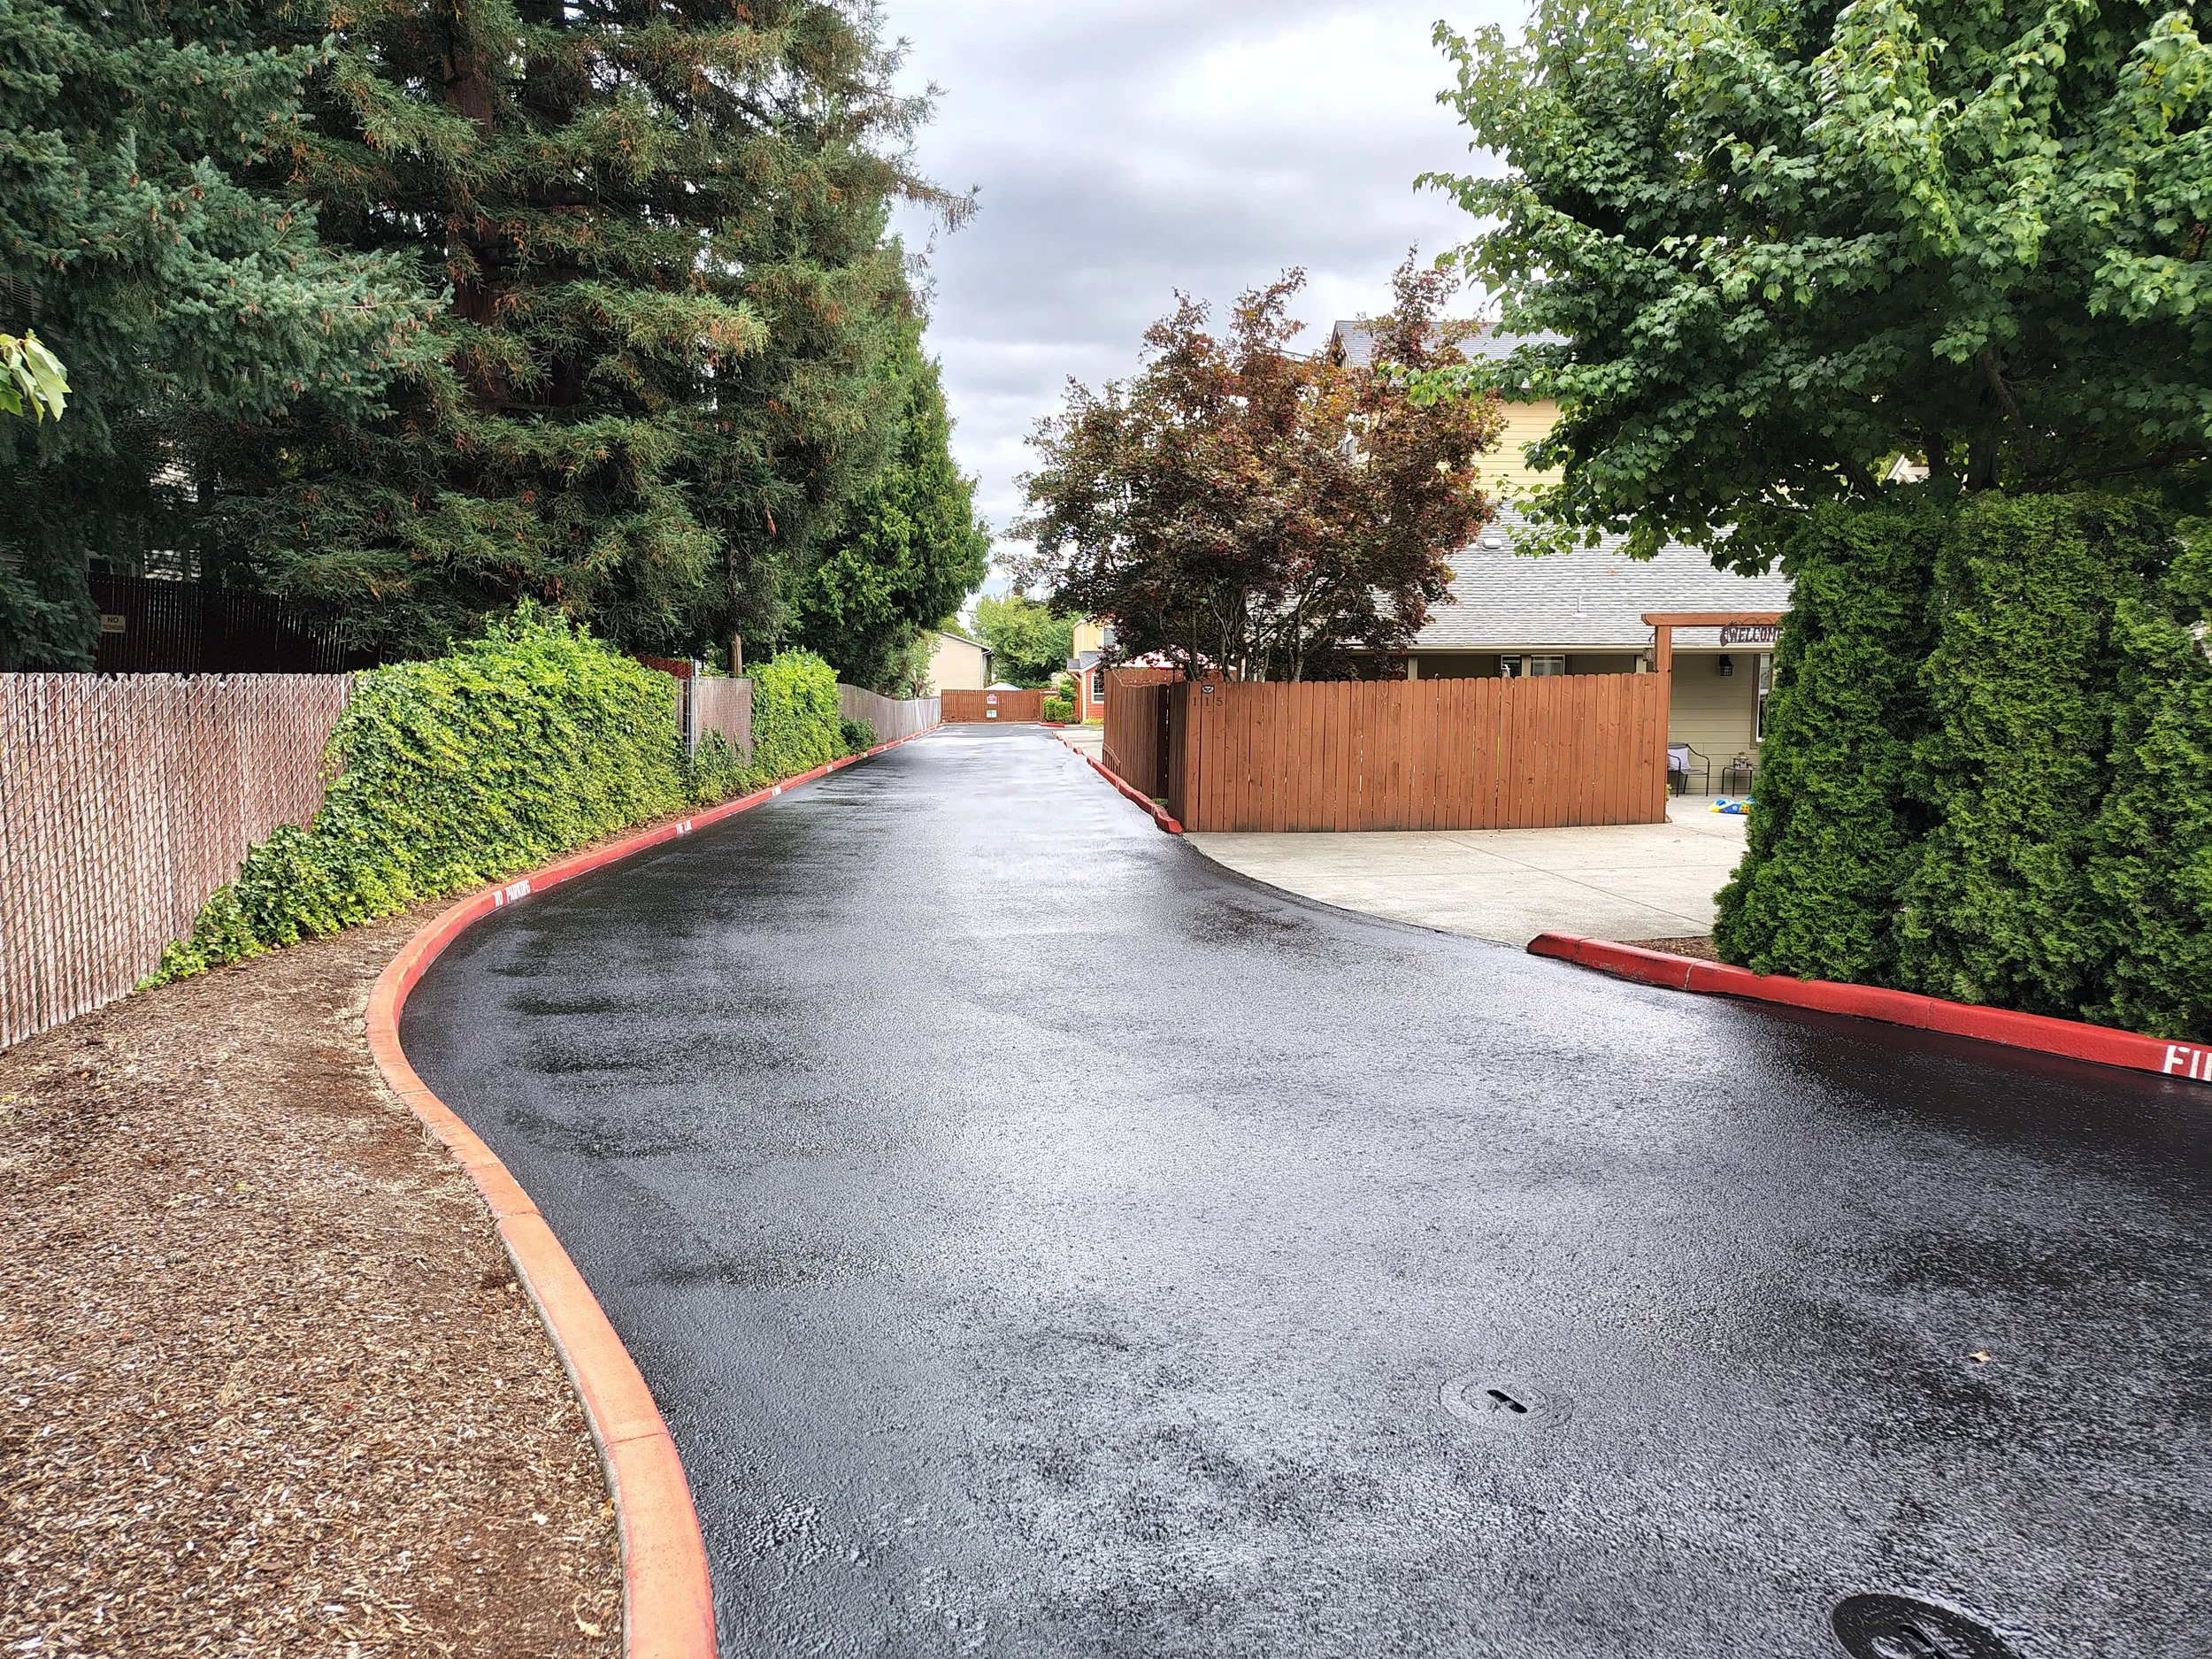
The most significant threat to any asphalt surface is water infiltration. When a crack is left open, rain and snowmelt channel directly into the sub-base. In cold climates, this leads to the freeze-thaw cycle: water enters the crack, freezes, and expands, physically pushing the asphalt apart. This process hollows out the area beneath the surface, eventually causing the asphalt to collapse into a pothole. Even in warmer climates, water saturates the base, turning solid ground into soft mud that can no longer support the weight of vehicles.
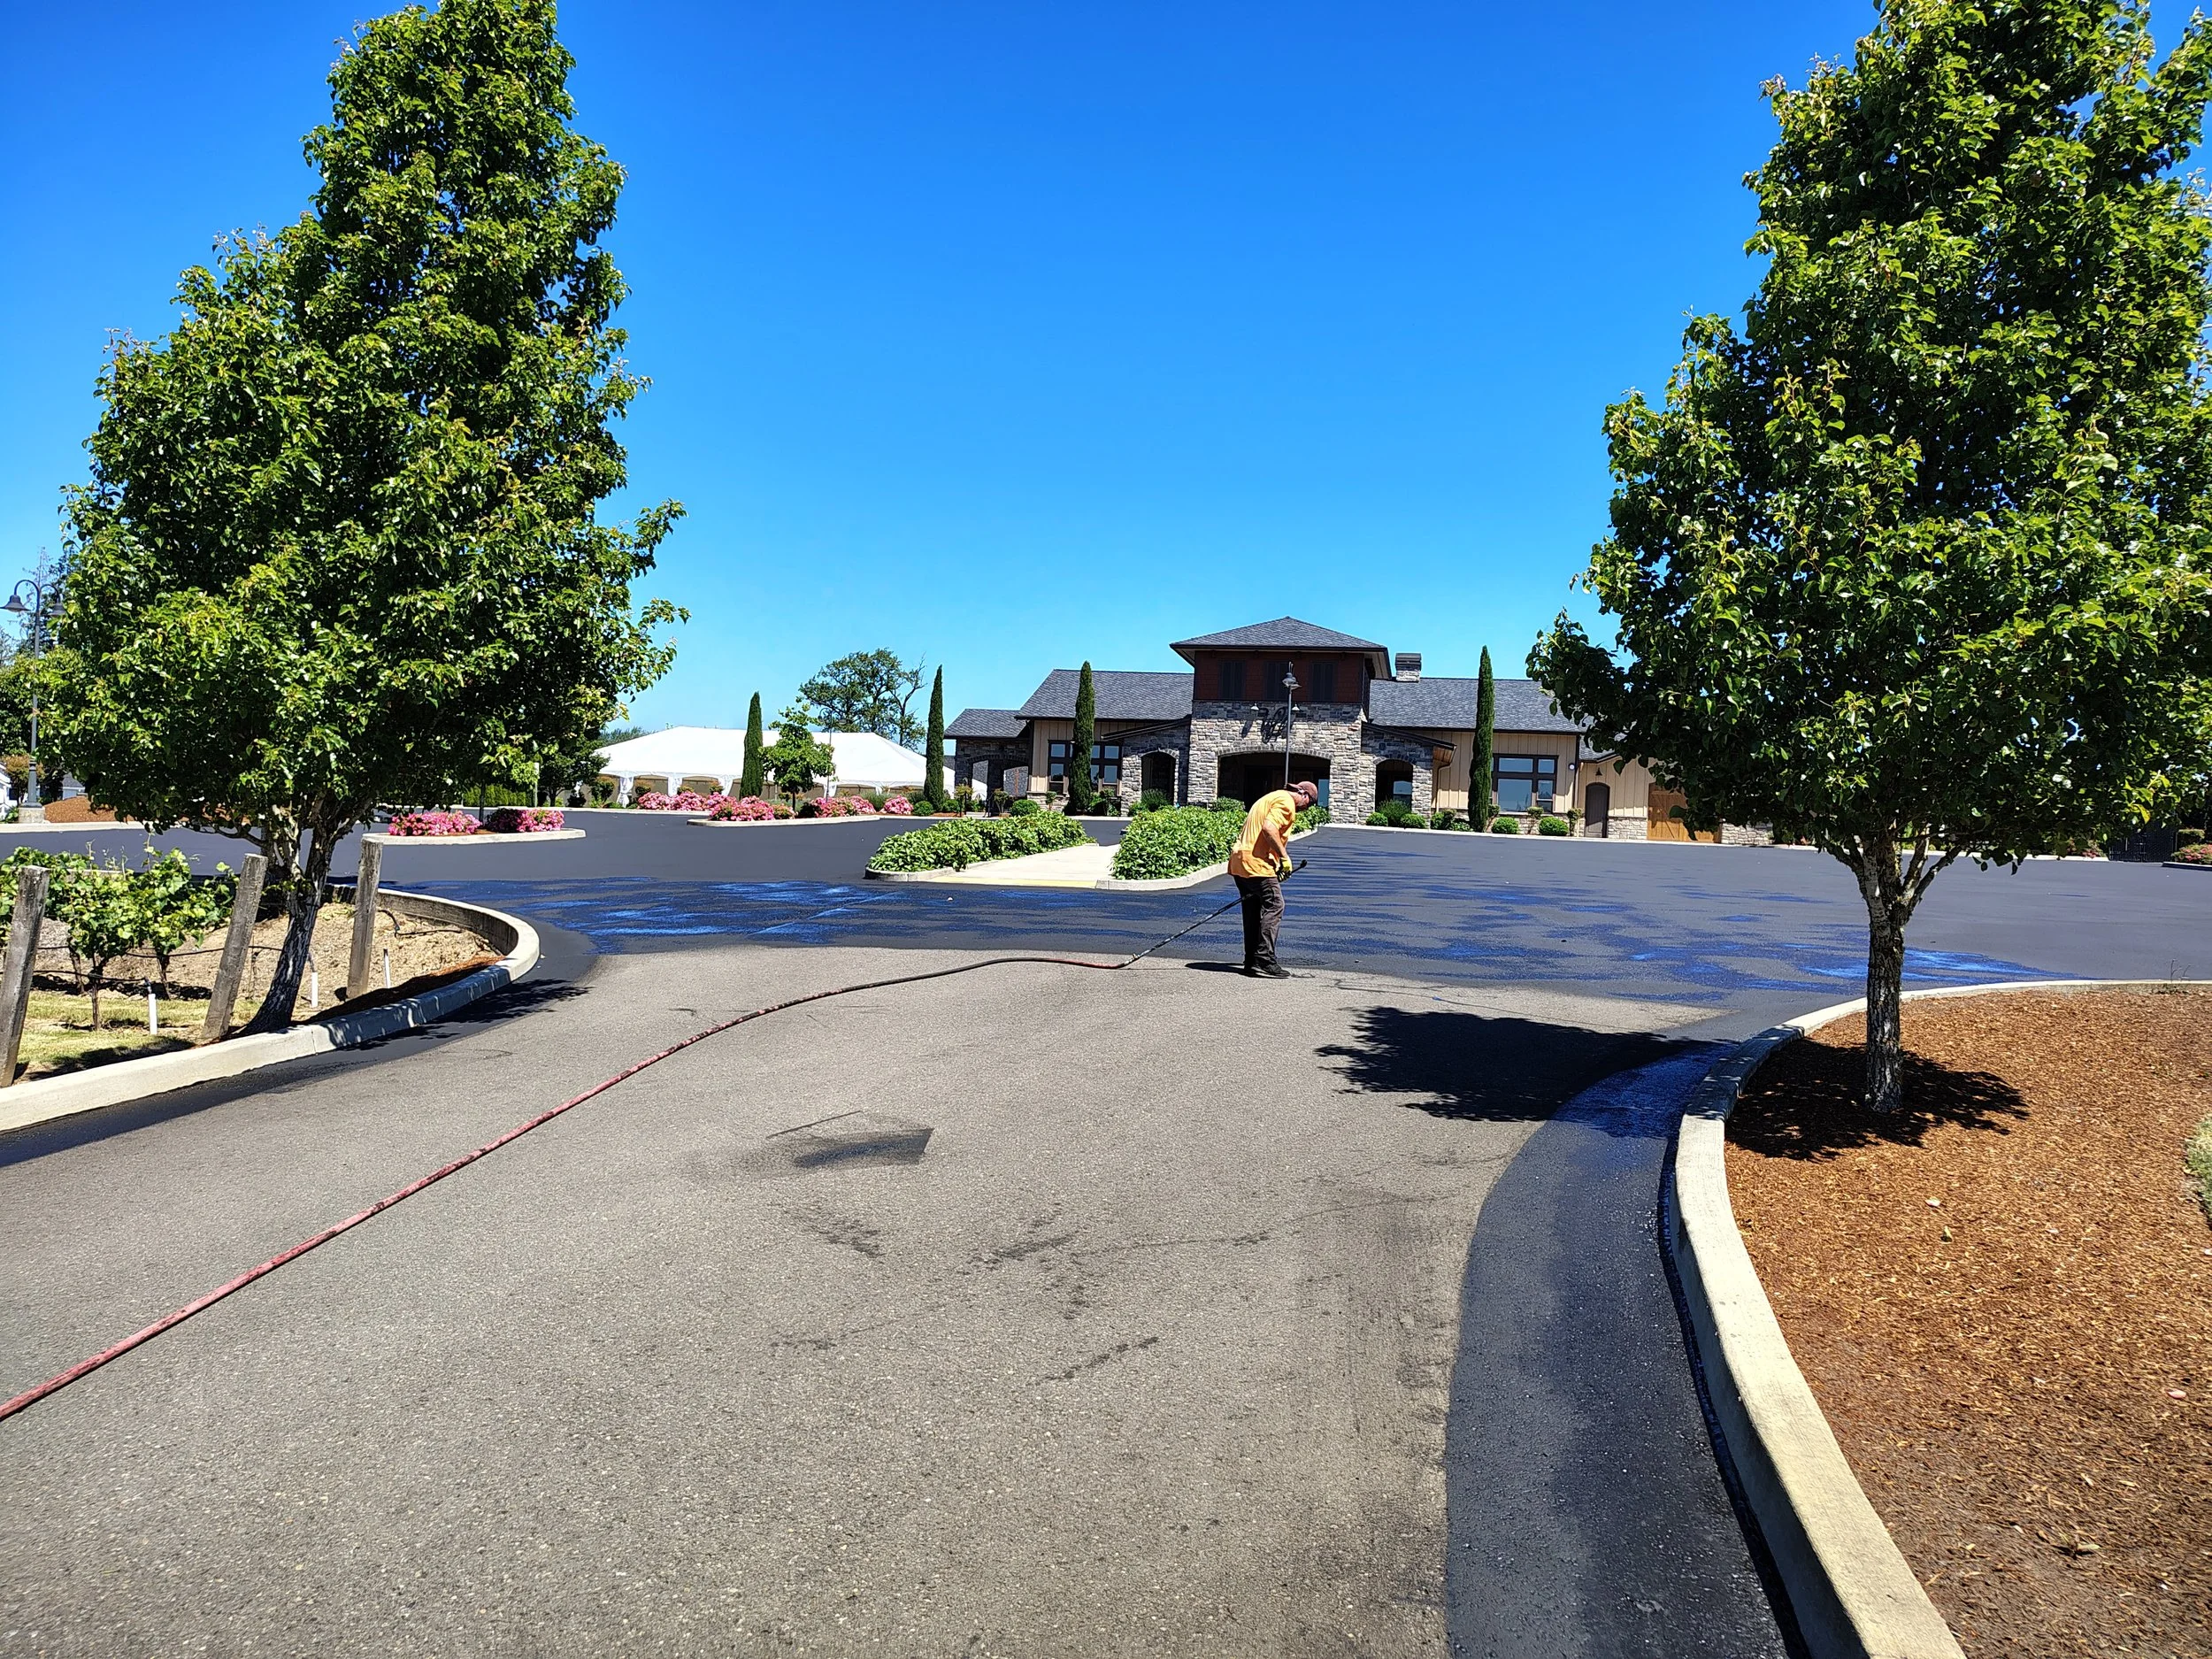
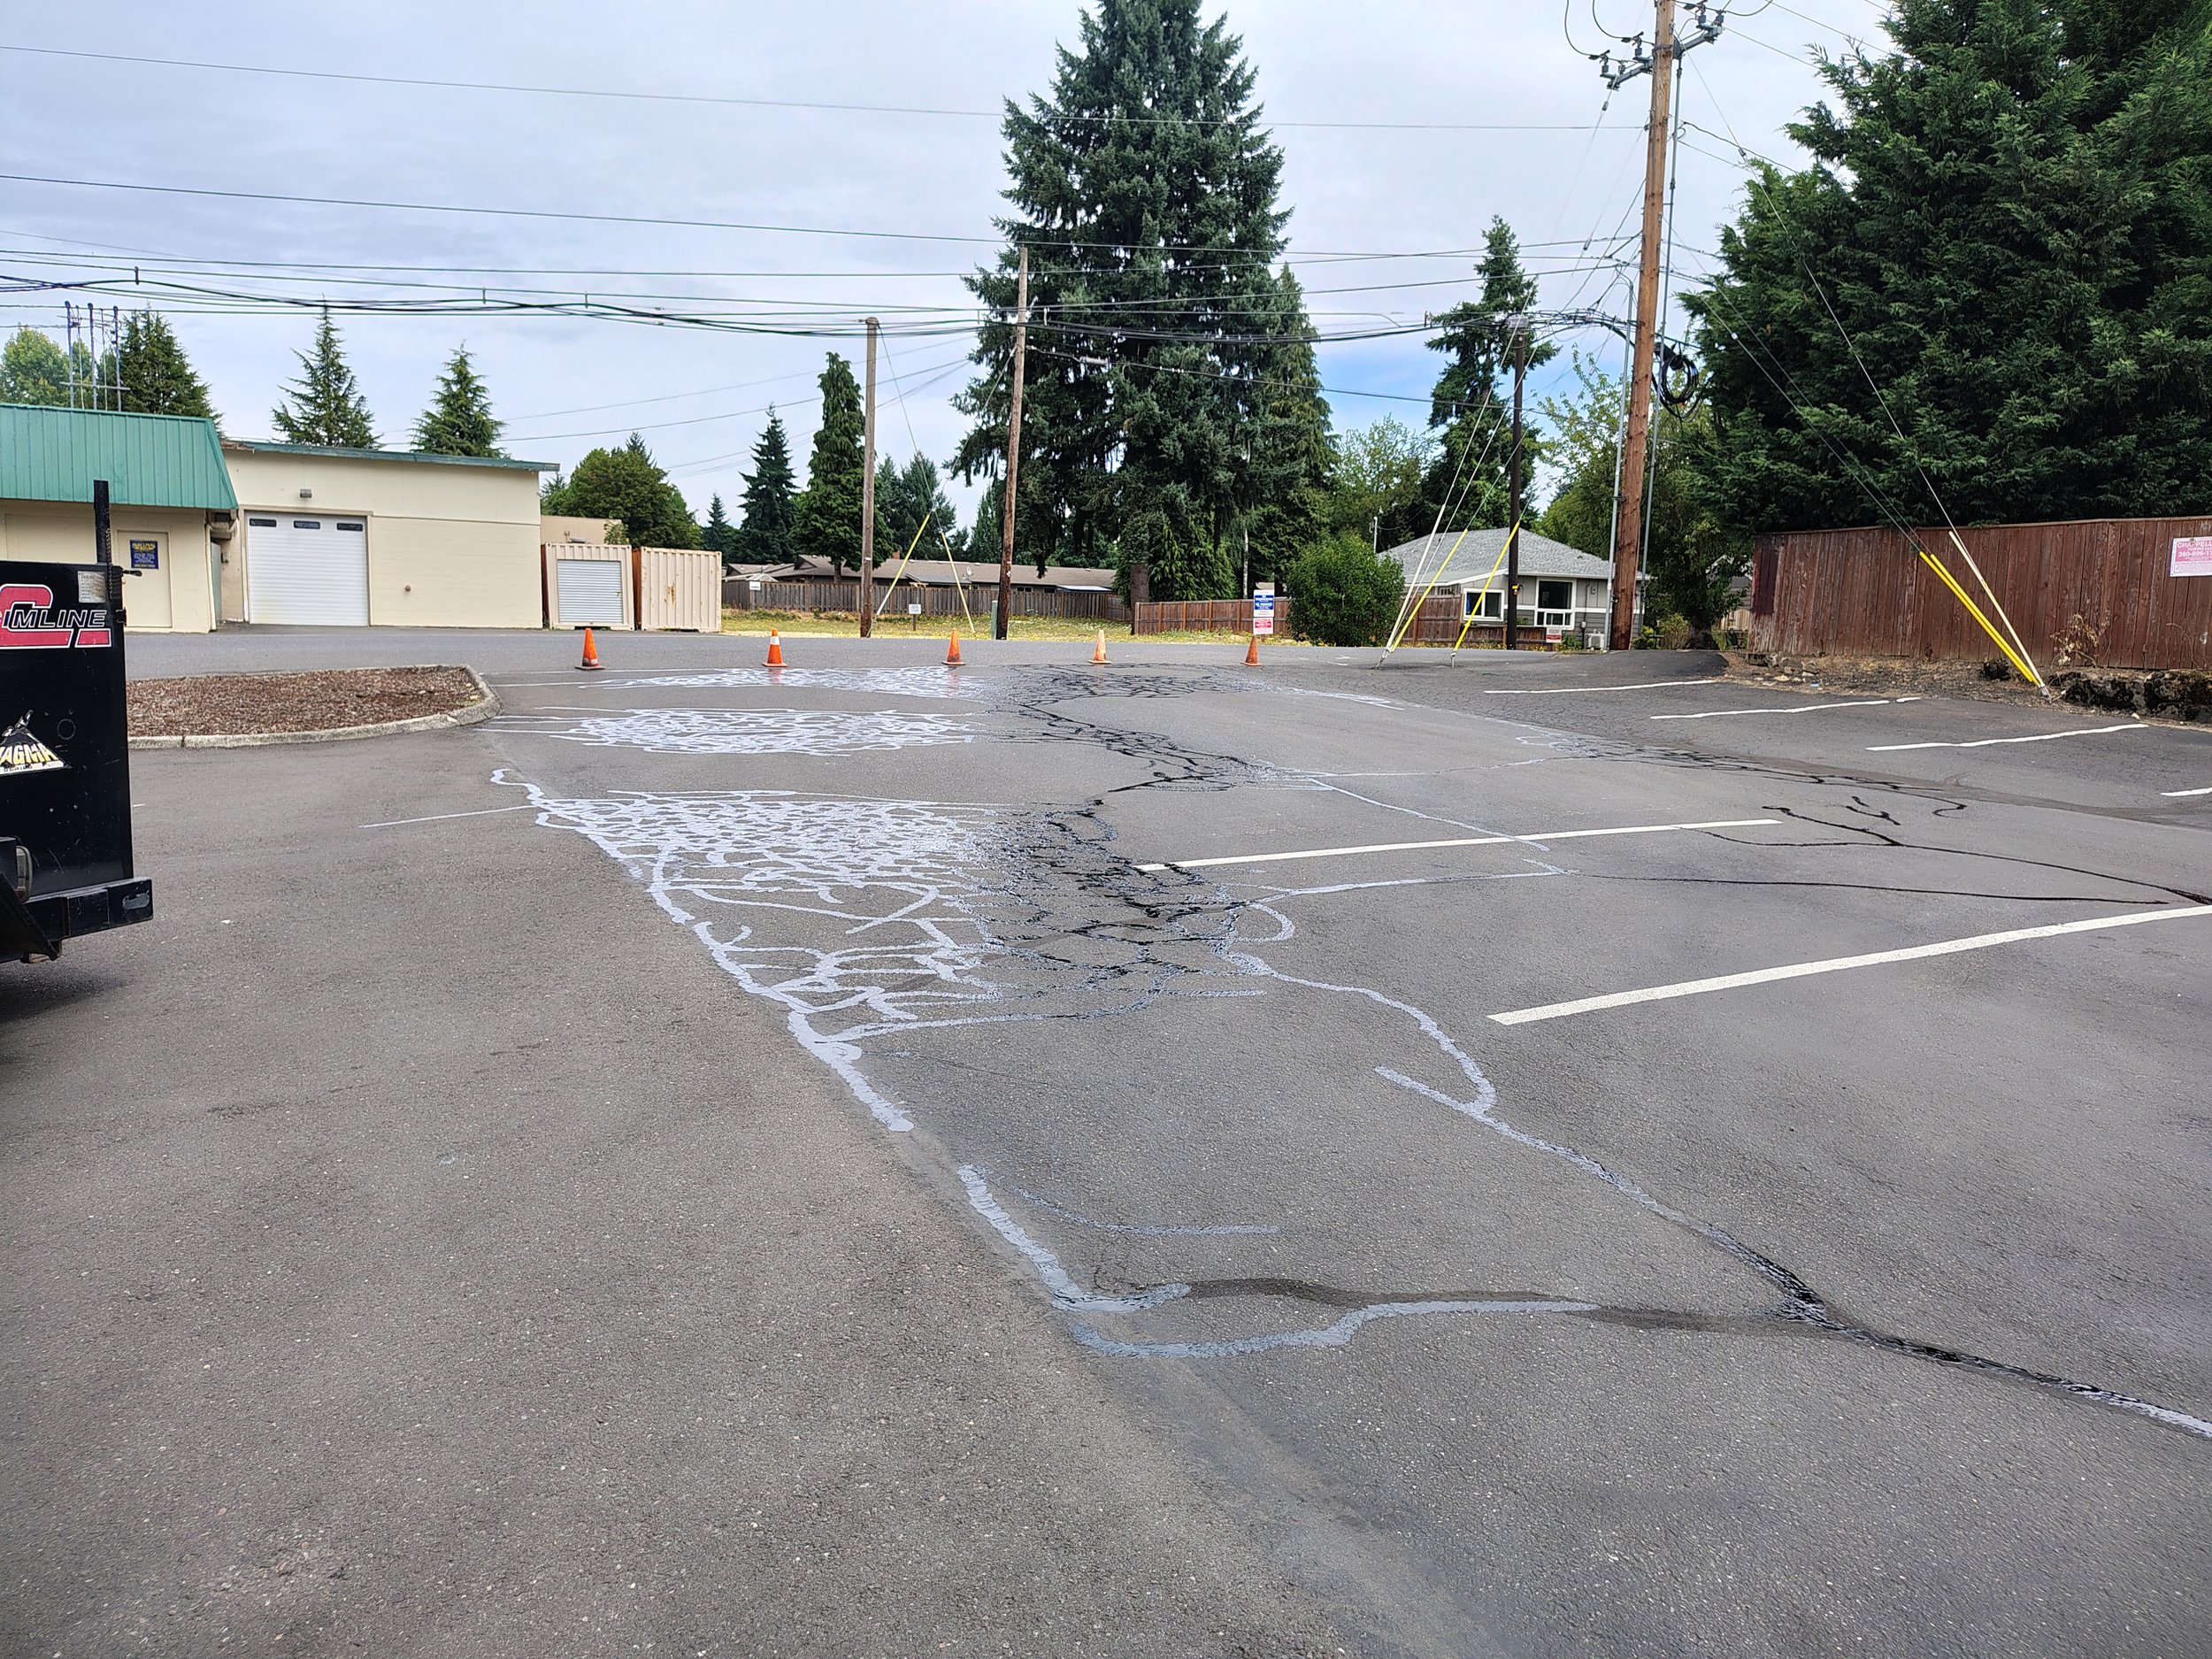
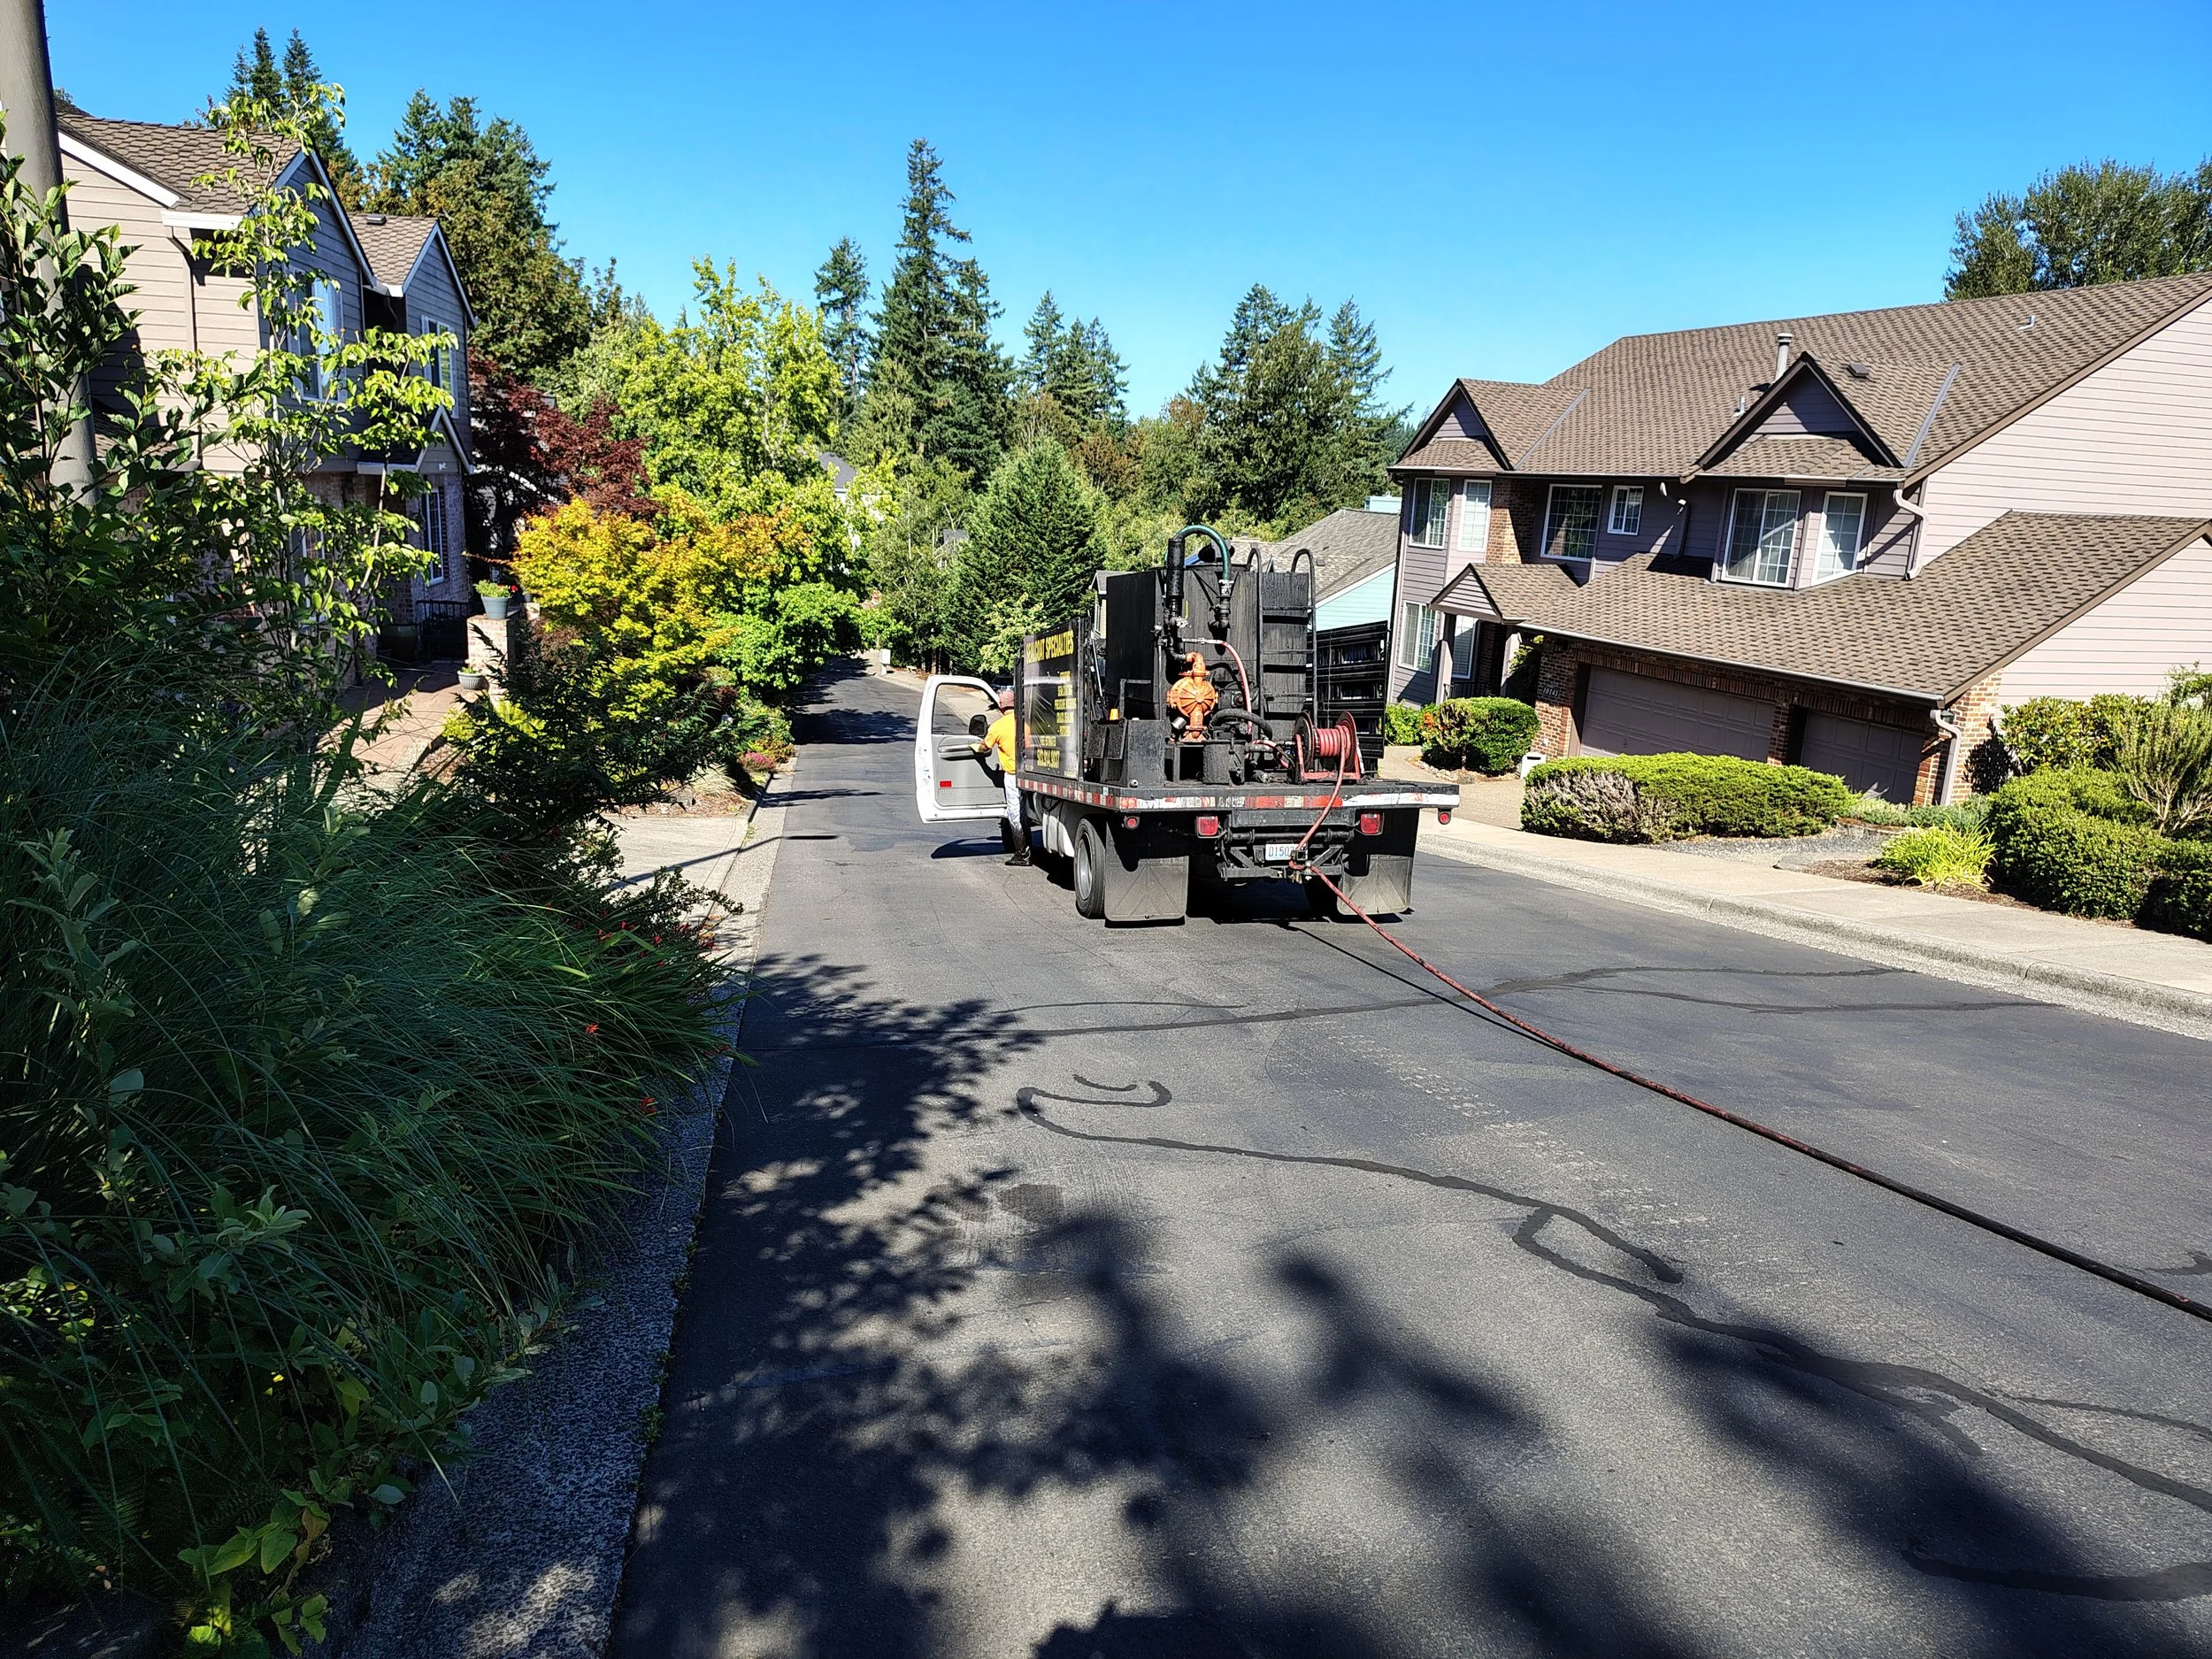
The Solution: Hot-Applied Rubberized Sealants
Professional crack repair is not merely "filling a hole." It is an engineering solution. The industry standard involves using hot-applied rubberized sealants. These materials are heated to approximately 350°F and poured into the cracks. Unlike rigid fillers, rubberized sealants remain flexible after they cool. This allows the sealant to stretch and compress as the pavement moves, maintaining a watertight "stitch" that prevents further damage.
The Economic Logic of Early Intervention
From a financial perspective, crack repair offers the highest return on investment of any pavement maintenance service. The cost of sealing a crack is a small fraction of the cost of patching a pothole, and an even smaller fraction of the cost of a full asphalt overlay. By addressing cracks when they are small. Property owners can effectively "stop the clock" on deterioration, extending the life of their pavement by several years.
Conclusion
Crack repair is the cornerstone of proactive asset management. It transforms a reactive "fix-it-when-it-breaks" mentality into a strategic preservation plan. By sealing the surface against water and debris, property owners protect the foundation of their pavement, ensuring safety, reducing long-term costs, and maintaining the structural integrity of their investment for years to come.